Ankle Mobility (and how to unlock it)
Check your ankles.
A few short years ago it hit me how important ankle mobility really is. It was during an educational course covering movement screening from the FMS (Functional Movement Screening). The creator, Gray Cook is an orthopedics board certified physical therapist and also a strength coach serving youth to professional athletes.
The short version is Gray tells his story how his course came about. It was a collegiate D1 athlete that could have prevented multiple groin tears by sooner identifying that one ankle had almost zero dorsiflexion (ability to lift the ball of the foot up while keeping the heel in contact with the ground). This athlete had a team of high-level professionals guiding his training which included sprinting uphill. Without having the ability to dorsiflex he had to compensate from higher up the chain. In this case, he had to hike his hip to compensate for his lack of ankle mobility while sprinting on a steep incline at maximal output. This then led to muscular dysfunction in his pelvic region, setting him up for multiple groin injuries.
All could have been prevented by proper and regular movement screenings. And so, FMS was born.
To further elaborate this concept…
An imbalance in mobility between left and right ankles will lead to movement compensations. These present as dysfunctional movement patterns. Other than a lack of strength, dysfunctional movement patterns are a major root cause of pain, and if not addressed will eventually lead to injury. This principle of muscular imbalances leading to injury is true for every joint in the human body.
If you invest time into learning how to move through these patterns properly, it pays you back 10-fold.
Let me show you…
The following is a 3-step process that will test your ankle mobility and give you corrective exercises for common dysfunctional patterns.
Step 1: Test
Ankle Mobility Assessment
When doing ankle assessments, make sure to be barefoot.
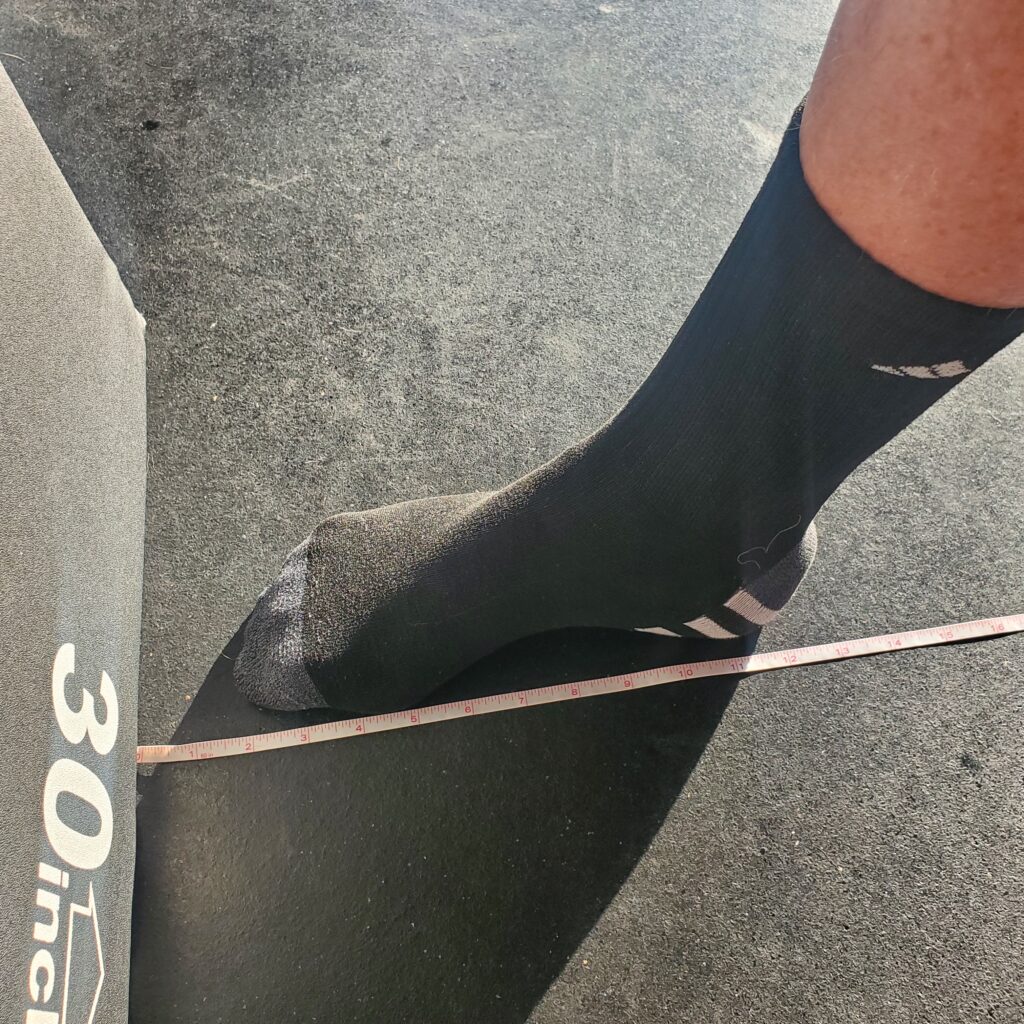
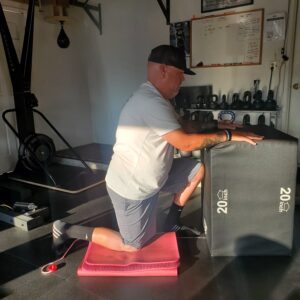
Begin by placing a ruler or measuring tape square to a wall or box. Place the foot you are measuring 1-2″ away from the wall with full contact on the ground. The heel must never lift from its pressure on the floor at any time during the test.
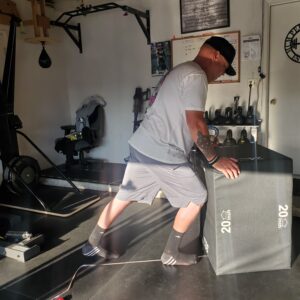
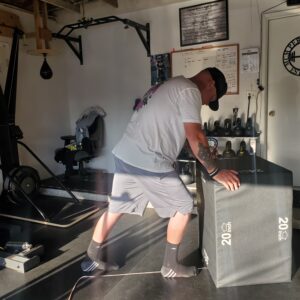
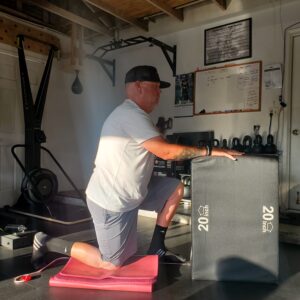
Lean your shin forward and try to make contact with the wall at the knee, without your heel lifting. If you pass at 1″, go to 2″, 2.5″, and so on until you reach your end range of motion. The challenge should be at the ankle/calf. If you feel it at the hip, adjust your starting position so your legs are closer or further from one another or to the wall/block.
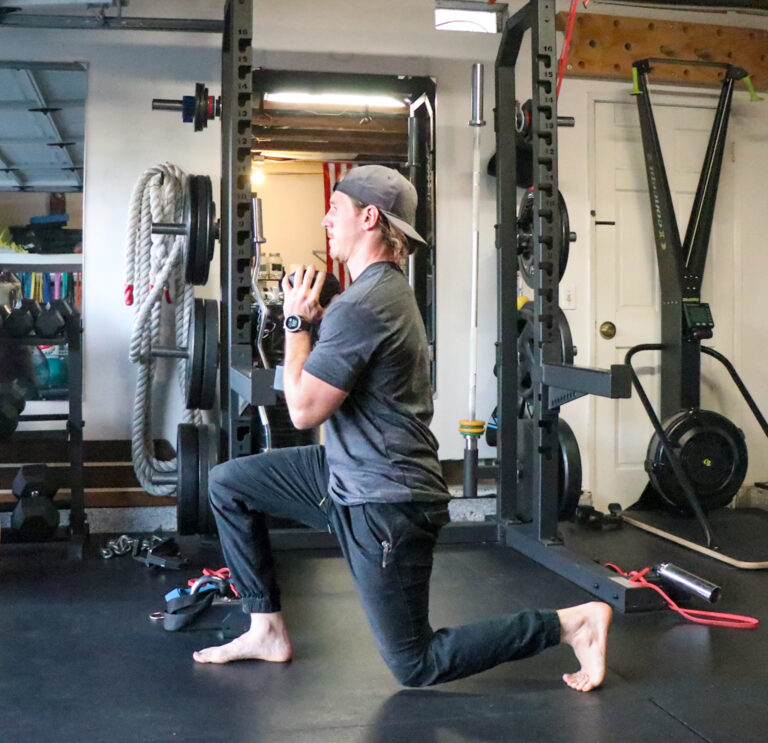
This can be done many ways, for this example, from a Standing or Half Kneeling position
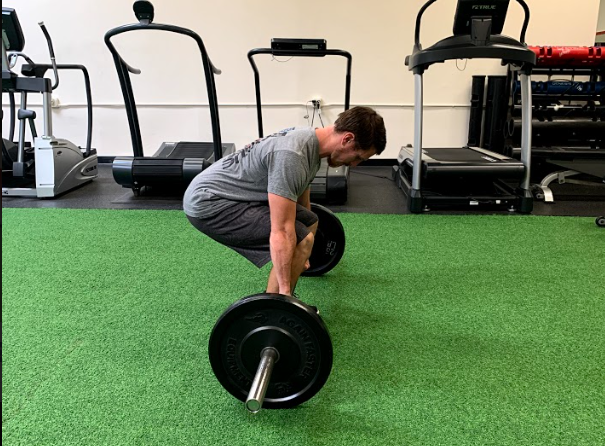
Standing
Kneeling
Step 2: Corrective Exercise
Corrective example 1: SMR Calf
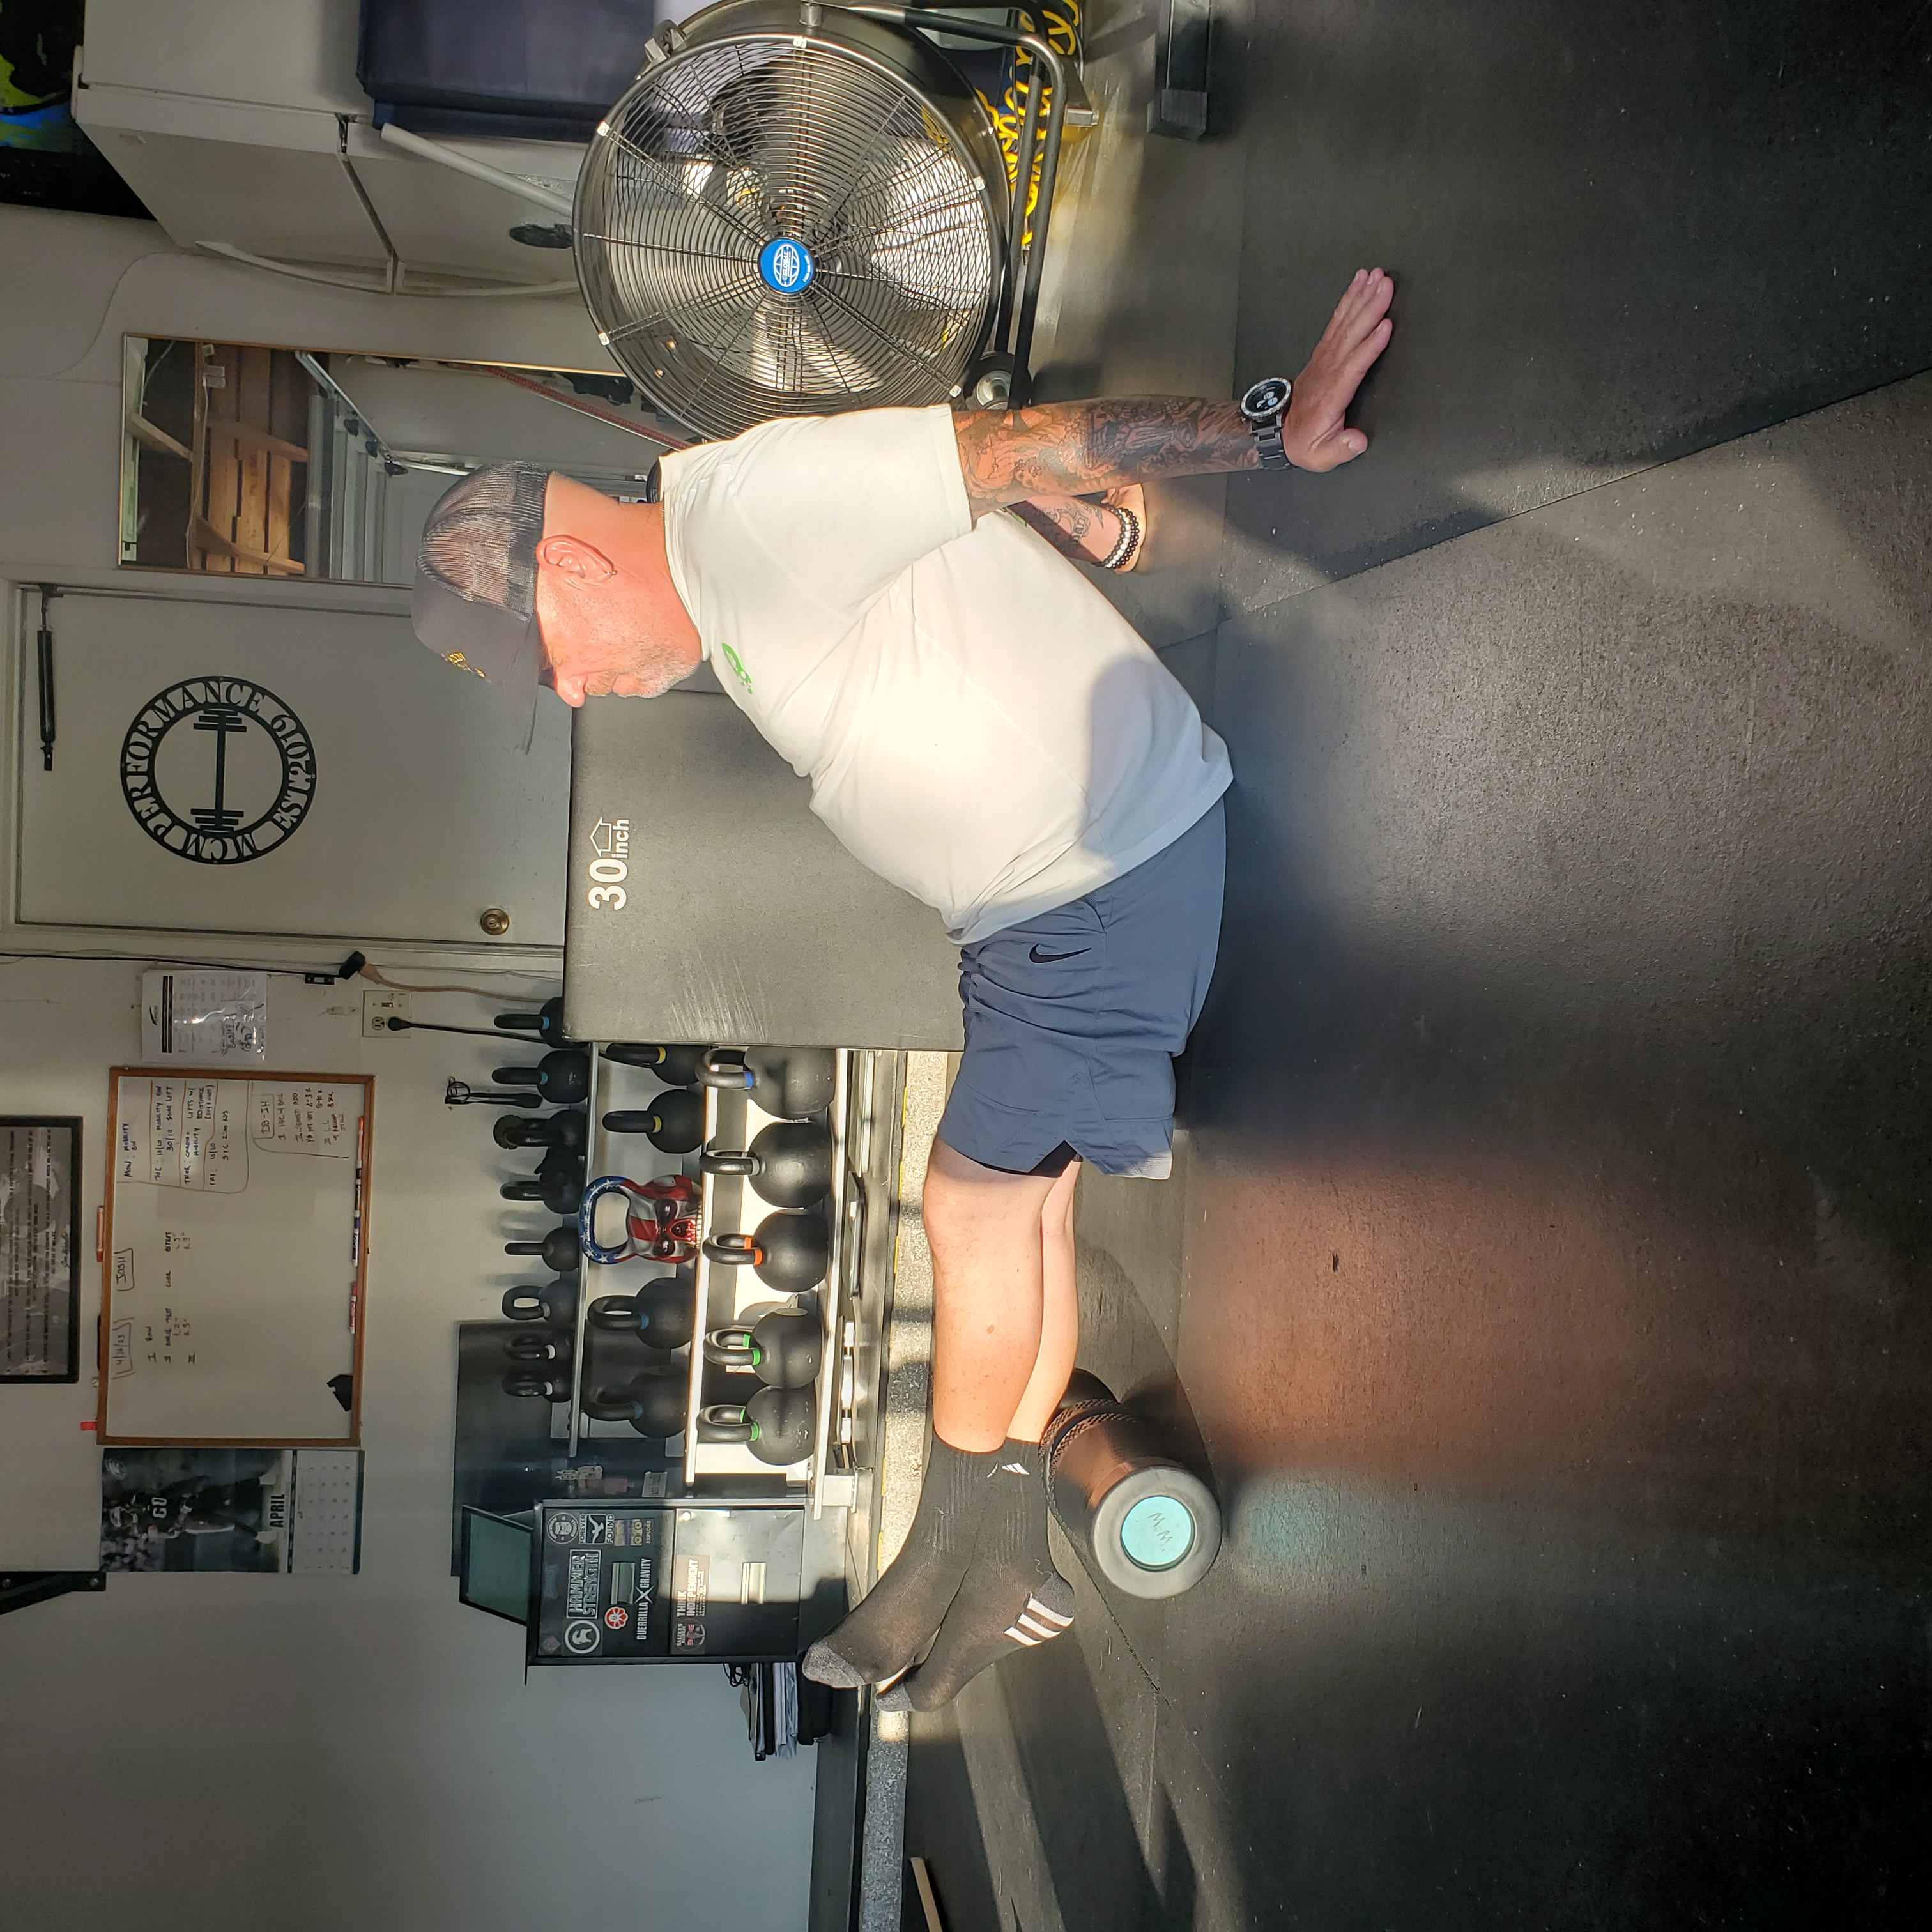
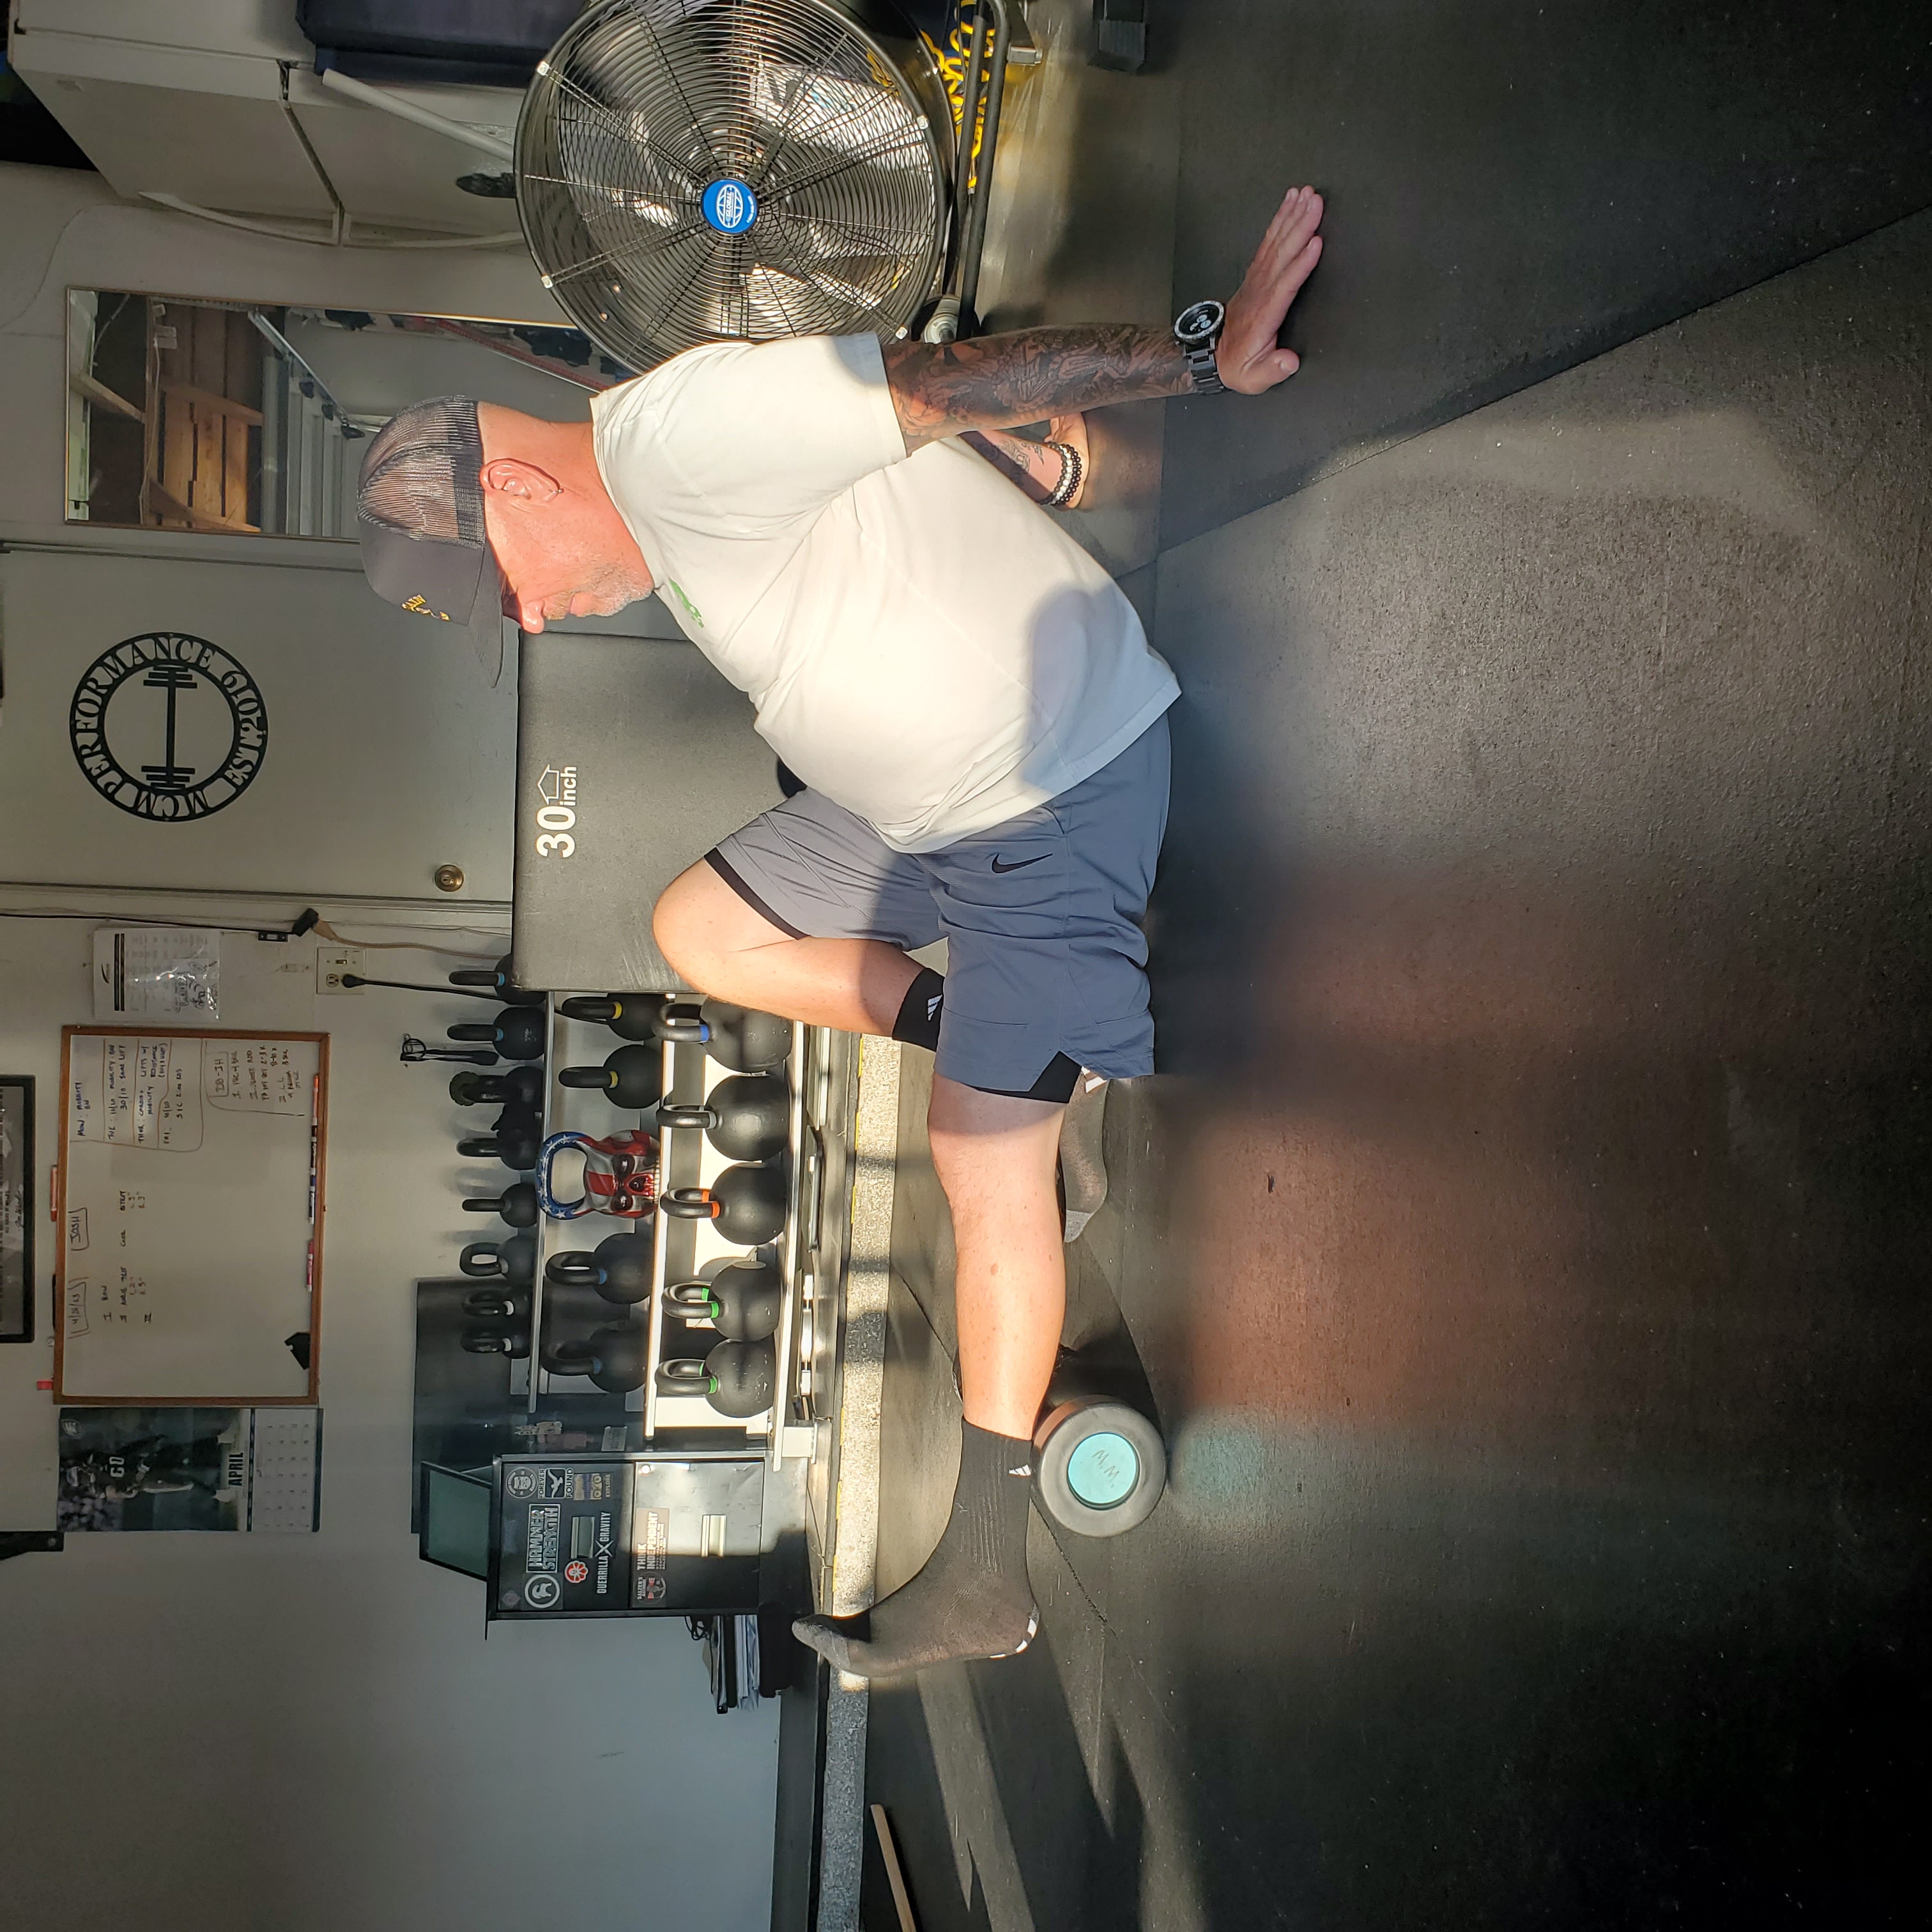
Place your calf over a foam roller, cross the other leg for extra weight. Pack the shoulder and lift the hips. Hold and steam roll up and down the calf. Stop at points of sensitivity and pull the toes back toward the face, then push them back down away from you. Repeat for 2:00 or 5-10x up and down the calf, slowly.
Corrective example 2: Open Half Kneeling Ankle Mobility with Kettlebell
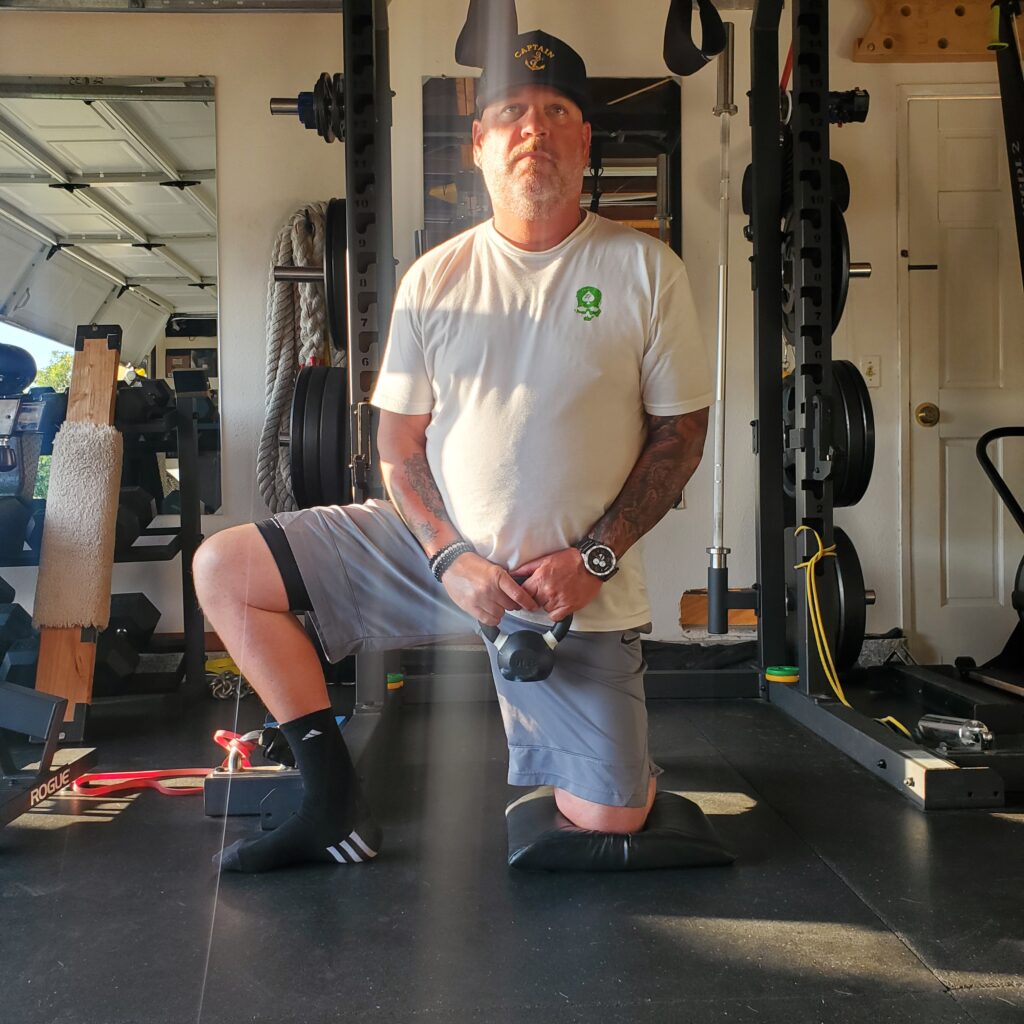
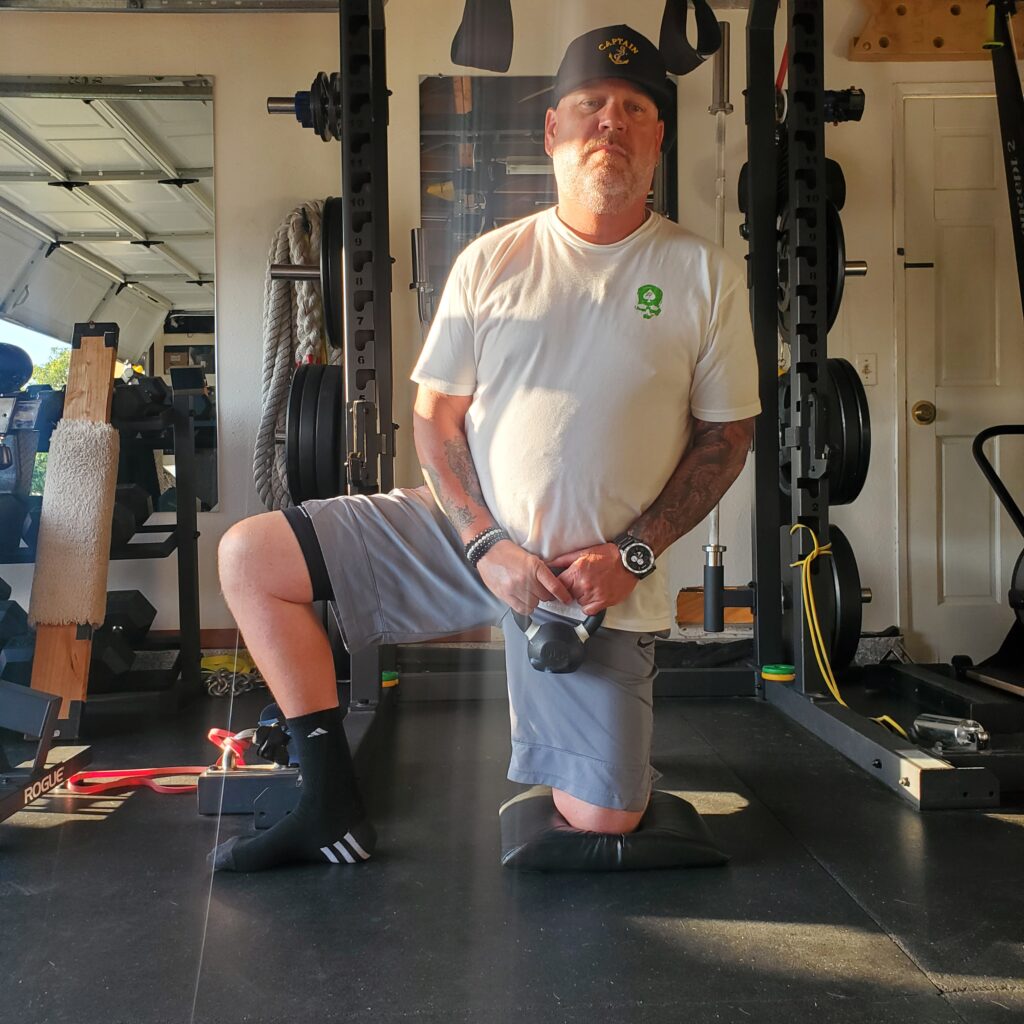
Enter 90/90 position with one knee down directly under the hip and the other foot in line with the knee, facing away at 90 degrees. Open your hip so your ankle is in line with your knee. Use the weight of the KB to slowly bring your knee toward your toes (dorsiflexion). Keep your heel down, breath, and return to starting position. Try to make improvements in real time, after 1 set of 10 reps, retest the ankle to see if there has been any improvement.
Step 3: Re-test
Back to testing, you look for improvement in your range of motion at the ankle. If you have made significant improvement, then the corrective exercise you just did is what you will do every day to address the issue. If you see no increase in range of motion, try a different ankle mobility corrective exercise and repeat the process until you find the one that works for you, to do every day.
Bottom line: Some functionality can be restored via SMR, corrective exercise, and a little consistent effort.
Educational Resources:
For science-backed education and support:
The American College of Sports Medicine: www.ACSM.org offers peer-reviewed journals, official positions related to sports medicine and exercise science, books, podcasts, blogs on trending topics, and more.
ACSM Sets the gold standard for physical activity and health. American College of Sports Medicine. Physical activity guidelines. [cited 2022 October 3]. Available from: https://www.acsm.org/read-research/trending-topics-resource-pages/physical-activity-guidelines.
Functional Movement Systems www.functionalmovement.com has a movement podcast and tons of great articles and other free resources available. The FMS certifies healthcare professionals in systems that help people to improve quality of movement by first moving well, then moving often.
Book: Breath by James NestorPodcast: Joe DeFranco’s Industrial Strength Ep. #283 How Breathwork Affects Our Mobility with Breathwork Specialist Dana Santas.
