The Lunge
The 6 Foundational movement patterns are:
Hinge, Squat, Lunge, Push, Pull, and Carry.
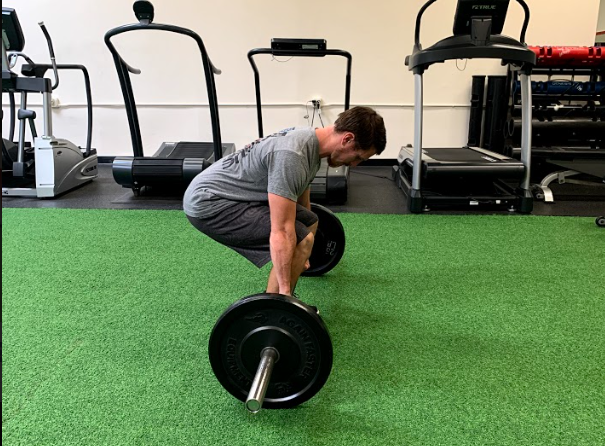
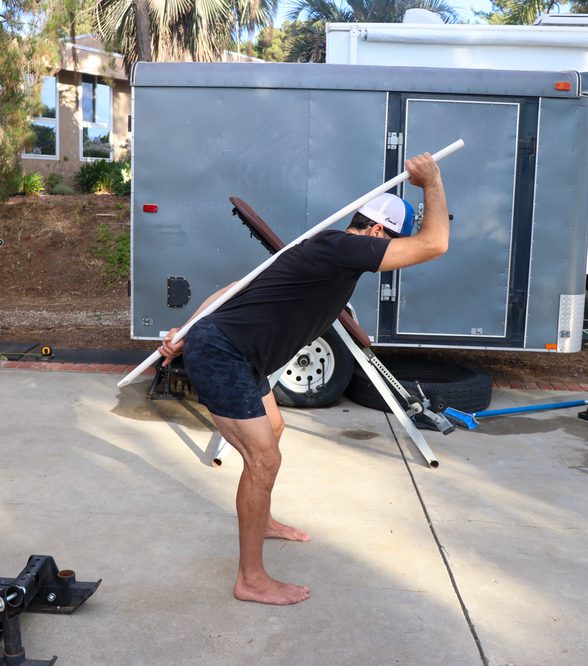
These are patterns that help you to develop raw strength and get things done. They can be combined into infinitely more complex movements or circuits for power or isolated for strength. They are the building blocks of a complete strength training program and all 6 should be trained weekly.
The Lunge is a unilateral lower body exercise involving a split stance pattern (one leg in front of or behind the other) where the back knee lowers to the ground. There are many different lunge variations, as well as ways to regress or progress each variation. Whether you step forward, drop back, kick out to the side or at an angle, it’s all going under the lunge category.
The Lunge is similar to the squat with the muscles it targets. Both can be modified to place emphasis on one muscle group or another (hip/glute or quad dominant). Unlike the squat, the lunge is a unilateral exercise, meaning it uses one limb or one side of the body. Unilateral exercises cannot be loaded as heavy as bilateral but require more balance and stabilization. The squat is a bilateral exercise, using both sides of the body symmetrically, can be overloaded with much heavier weight. The squat can be modified to become unilateral (single leg squat). If it helps, think of lunges as a more athletic single leg squat.
If you want to learn more about exercise science, subscribe to my newsletter.
The Assessments
Before adding lunges into your training routine or progressing them from what you currently do, take a few minutes to test that you have a solid foundation for this movement.
Test #1
Dorsiflexion: Testing ankle mobility
  |
Steps:
- Stand perpendicular to a wall with your shoes off.
- Place the testing foot 2” from the wall, keep the back foot a few feet from the wall.
- Keep your front heel down and lunge forward touching your front knee to the wall.
If you can touch, move back 1” and test again. If you can’t get at least 4” on each side, you need to increase your ankle mobility before continuing lunges. To do this, find a corrective exercise to help you increase ankle dorsiflexion, and do it every day until you can get to 4”. At that point, resume or begin regularly training lunges.
Test #2
Blind Single Leg Balance: Testing balance and static postural control
 |  |
When you lunge you are lifting one foot off of the ground and placing it in a particular spot ahead of you. Choosing where exactly to put your foot should be something you do under control while maintaining balance. The only way this can be achieved efficiently is if you have total control over your individual feet placement. This only happens when you’re confident operating from a single leg base.
Steps:
- Stand with feet straight forward and together. Close your eyes as you start a 30 second timer.
- Lift one leg off the ground and stay balanced as long as you can.
- Observe the number times you lose your balance. Try to get 30 seconds on each side without touching the ground more than 3 times with the other foot.
If you needed to catch yourself more than 3 times, or if you fell over during the test, I recommend training single leg balance and bodyweight lunges before adding more weight.
Test #3
Drop lunge with static (isometric) hold: Owning the lunge position
 |  |
Steps:
- Stand with feet shoulder width apart, make sure there is adequate space behind you. If you are holding weight, you can use dumbbells at your sides, or a goblet hold for a single dumbbell.
- Take a giant step behind you and find your balance with your front foot taking around 80% of your bodyweight and in full contact with the ground. Your back heel should be off the ground. This is the “top” of a drop lunge position.
- Slowly lower into a lunge by bending your knees: The front leg/hip controls most of the weight, the back leg is a bending support post. Hinge slightly at the hips while lowering your body to increase glute activation.
The closer the back knee is to the floor without touching, the more challenging the exercise is. Keep your hips level, and most of the weight in your front leg.
How many seconds could you hold on each side? Is it the same or close on both sides? Did you make it to 10 seconds? If you can’t hold at least 10 seconds each side then you need to train these until you can, before adding weight to your lunge training. If there is a major discrepancy in time held between left and right legs, you need to work on balancing left and right leg strength and stability. To do this choose unilateral (one side at a time) exercises. Always do the weaker leg first, take it to a higher perceived intensity, and match that number with the stronger side.
Lunge Exercises for Strength and Power
A lunge done at the gym looks different from a lunge you would do in the real world. First you have to ask, when am I ever going to lunge? Even if you’re not an athlete, you may relate to when you trip and almost eat it but you catch yourself; you’ll probably land in some version of a lunge. If you aren’t able to find an example then it’s likely you don’t have the confidence to do one. Strength training can fix that problem, prevent injuries, and open doors to freedom of movement you didn’t think you had in you.
Lunge exercises for Strength:
- DB Walking Lunges
- DB Step Ups
- DB Drop Lunge
Lunge exercises for Power (plyometrics):
- Lateral Push Lunges
- RFE High Jump + Tuck
- DB Switch Lunges
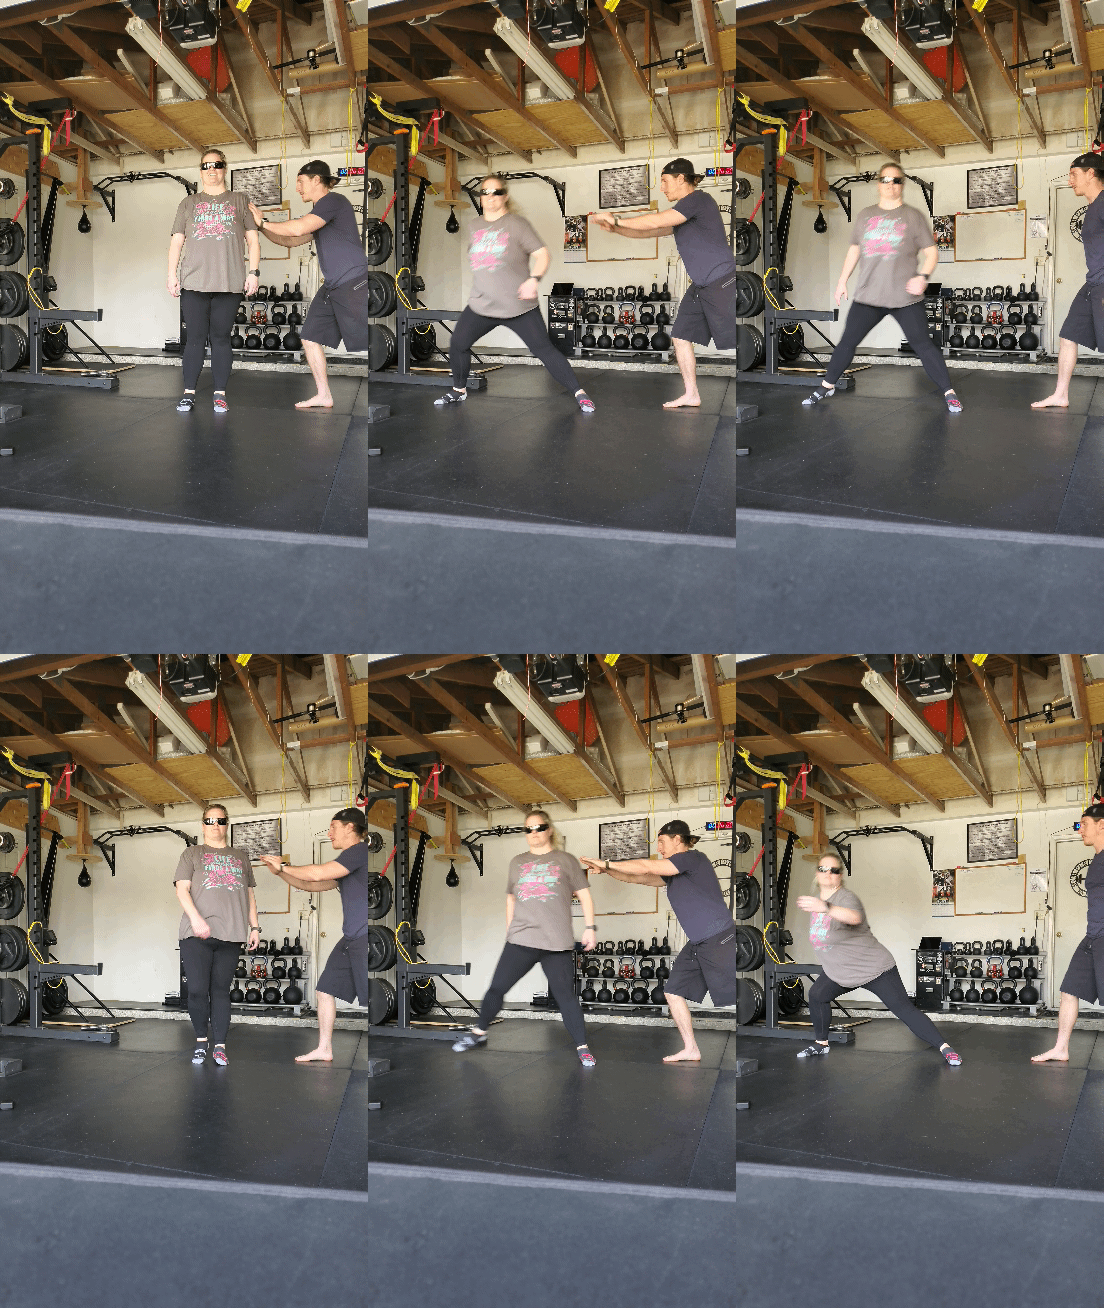
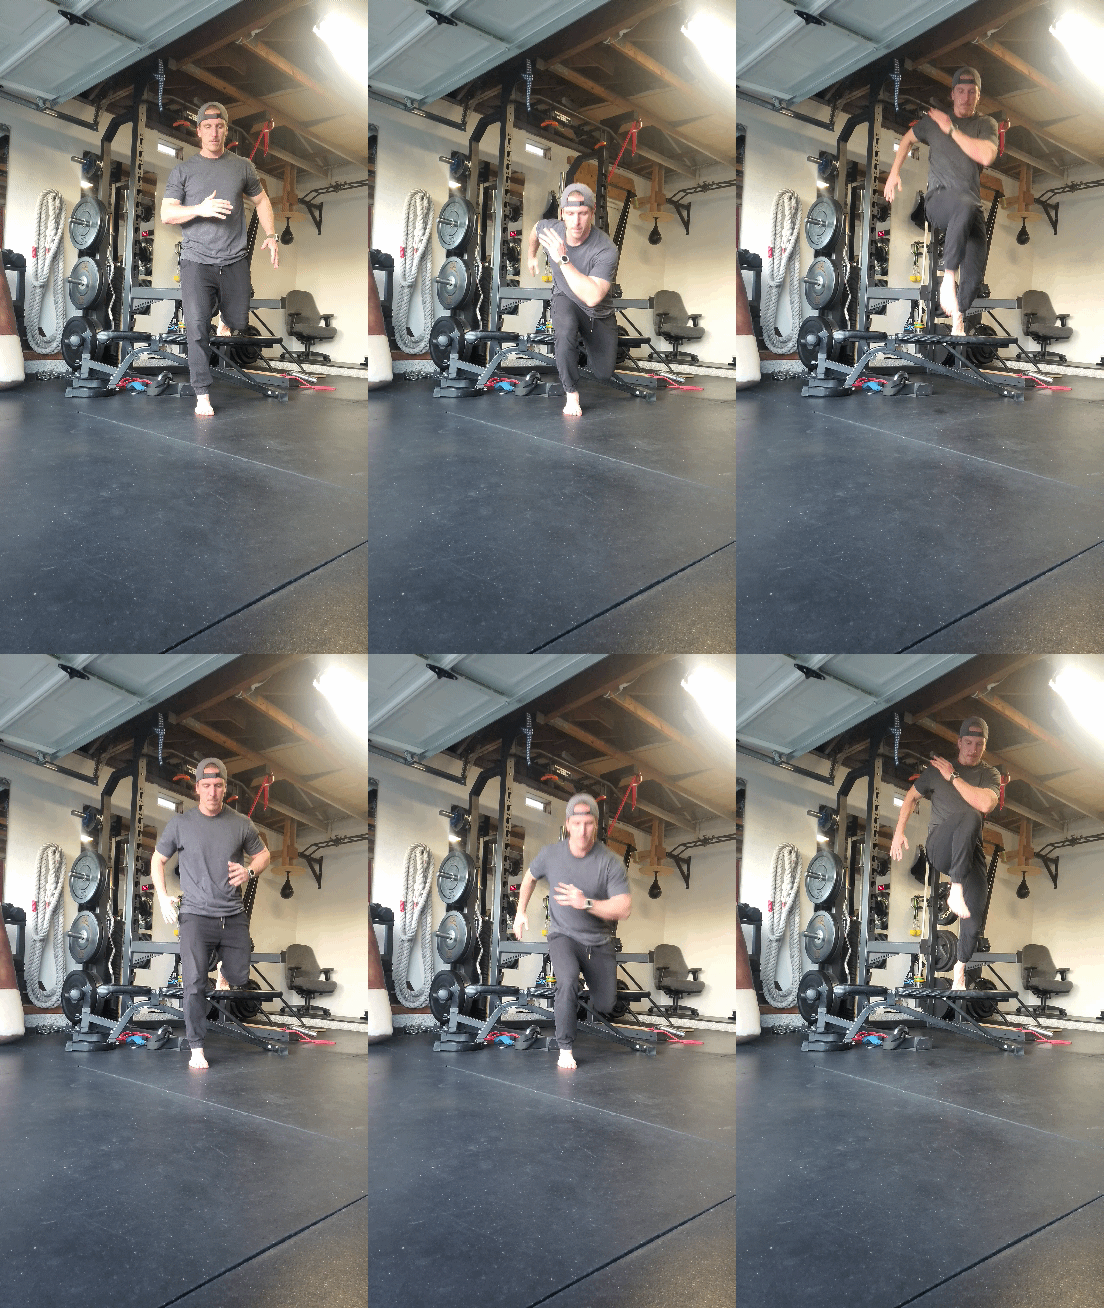
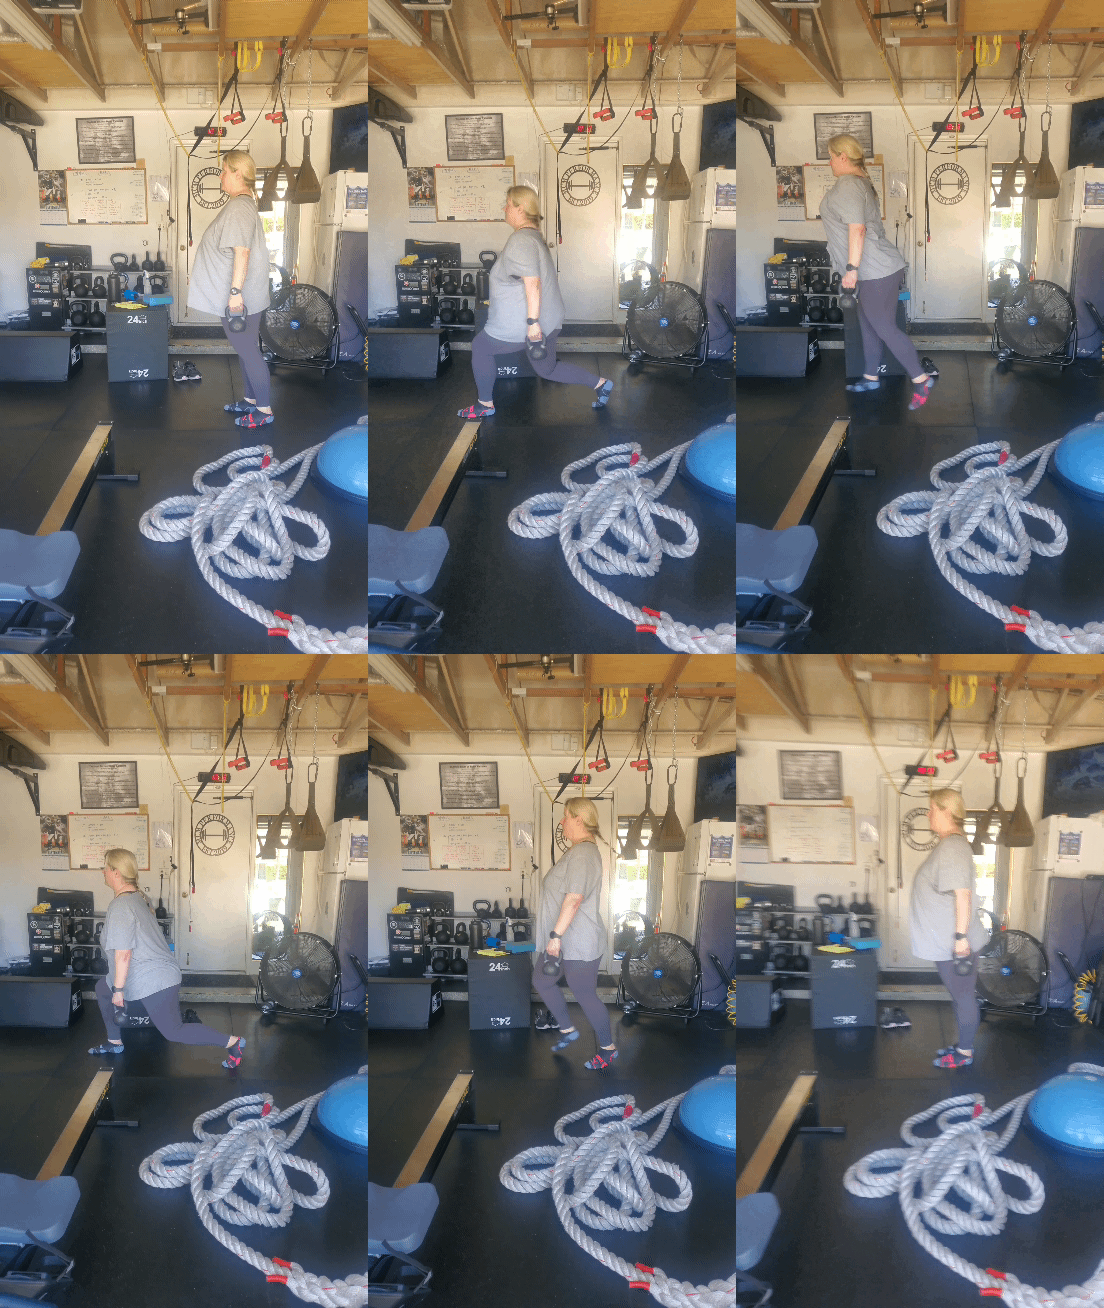
Dumbbell Walking Lunges: 3 Common Mistakes
If you’re brand new at this, start with bodyweight before adding load. Look for these 3 common errors:
Mistake #1
Wrong: Front heel comes up.
Right: Weight is balanced through the midfoot. Full foot contact with ground.
 |  |
Mistake #2
Wrong: Knee doesn’t touch ground.
Right: Knee gently taps ground to ensure full range of motion on each rep.
 |  |
Mistake #3
Wrong: DB’s swing and posture breaks
Right: Chest and head keep aligned with torso. DBs stay at your sides. Do not let your arms pendulum for momentum.
 |  |
Get Strong From Home
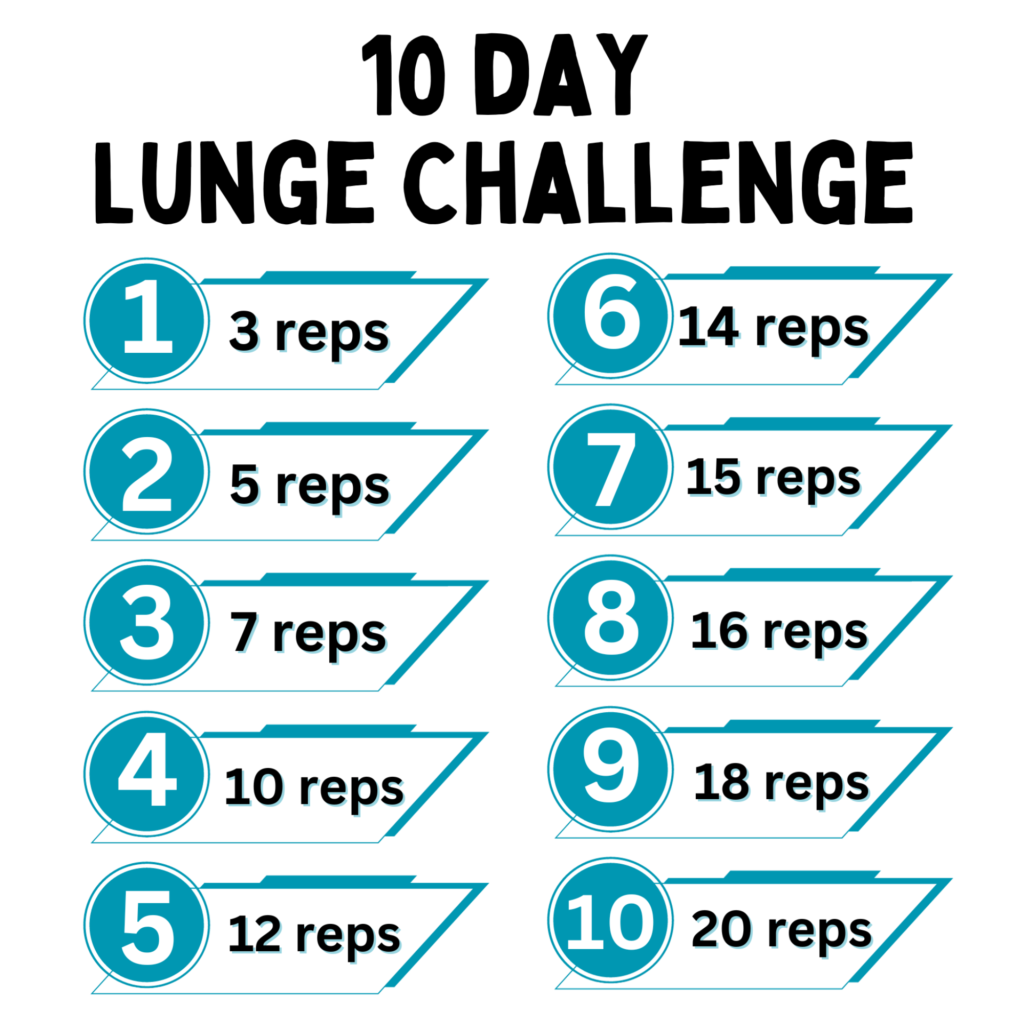
Beginner: 10 Day Lunge Challenge
This is an easy way to start making progress from your home, before joining a gym as so many of us do. The end goal is to be able to lunge at least your bodyweight for multiple repetitions with relative ease. All I ask of you is 10 days of consistent effort. Kick your shoes off, plant your feet solid into the ground, and square yourself in front of a mirror. Take turns alternating drop lunges between left and right with fluid movement between transitions and lunges. 1 rep = 1 lunge on each side.
Advanced: 21 Day Lunge Challenge
For more experienced athletes, try this 21 Day Lunge Challenge. The exercise is a static drop lunge. Workouts change over 3 weeks focusing on building strength, joint stability, power, and refining your overall lunge mechanics. Take into account your current training volume and factor this challenge into your regimen accordingly. Lunges are very taxing on the lower body. You need to be eating, drinking, moving and sleeping enough in order to recover.
After completing 21 days without knee pain the benefits will be obvious.

Resources:
For education and support backed by decades of science and application:
National Academy of Sports Medicine: www.nasm.org – Overhead squat solutions table for more detailed information on the assessment, compensations, and possible causes.
www.DrJohnRusin.com – Dr. John Rusin is an online coach. The 6 Foundational patterns are his brainchild. I have learned a lot from him, I apply some of his teachings in my own training and incorporate them into my own processes. I hope you find his work helpful too.
The American College of Sports Medicine: www.ACSM.org offers peer-reviewed journals, official positions related to sports medicine and exercise science, books, podcasts, blogs on trending topics, and more.
ACSM Sets the gold standard for physical activity and health. American College of Sports Medicine. Physical activity guidelines. [cited 2022 October 3]. Available from: https://www.acsm.org/read-research/trending-topics-resource-pages/physical-activity-guidelines.
Functional Movement Systems www.functionalmovement.com has a movement podcast and tons of great articles and other free resources available. The FMS certifies healthcare professionals in systems that help people to improve quality of movement by first moving well, then moving often.
Book: 5/3/1 By Jim Wendler: The simplest and most effective training system for raw strength. A close friend of my showed me this years ago and the philosophy proves itself true for people of all ages.
